
Connect Asus ROG Ally to TV or Monitor: Easy Steps
The ROG Ally made a splash in 2023 as a compelling alternative to the Steam Deck, thanks to its Windows operating system that opens up a broader range of gaming possibilities. The following year, the ROG Ally X hit the market, enhancing the device with upgraded internals and improved ergonomics, making it even more comfortable to use with better cooling. While the ROG Ally's primary allure is its portability, it's also fantastic to have the option to enjoy your games on a larger screen, whether it's a TV or a gaming monitor. Both ROG Ally models support connection to external displays, allowing you to immerse yourself in your favorite games on a bigger canvas. Below, you'll find a comprehensive guide on how to connect your ROG Ally to a TV or monitor, complete with step-by-step instructions and our top recommendations.
How to Connect With an Adapter
Connecting your ROG Ally to a TV or monitor can be achieved through various methods, but using an adapter is a straightforward and space-efficient solution. You can choose from a compact dongle-style adapter, a direct cable, or the official ROG Gaming Charger Dock, each offering its own set of benefits.
What You'll Need

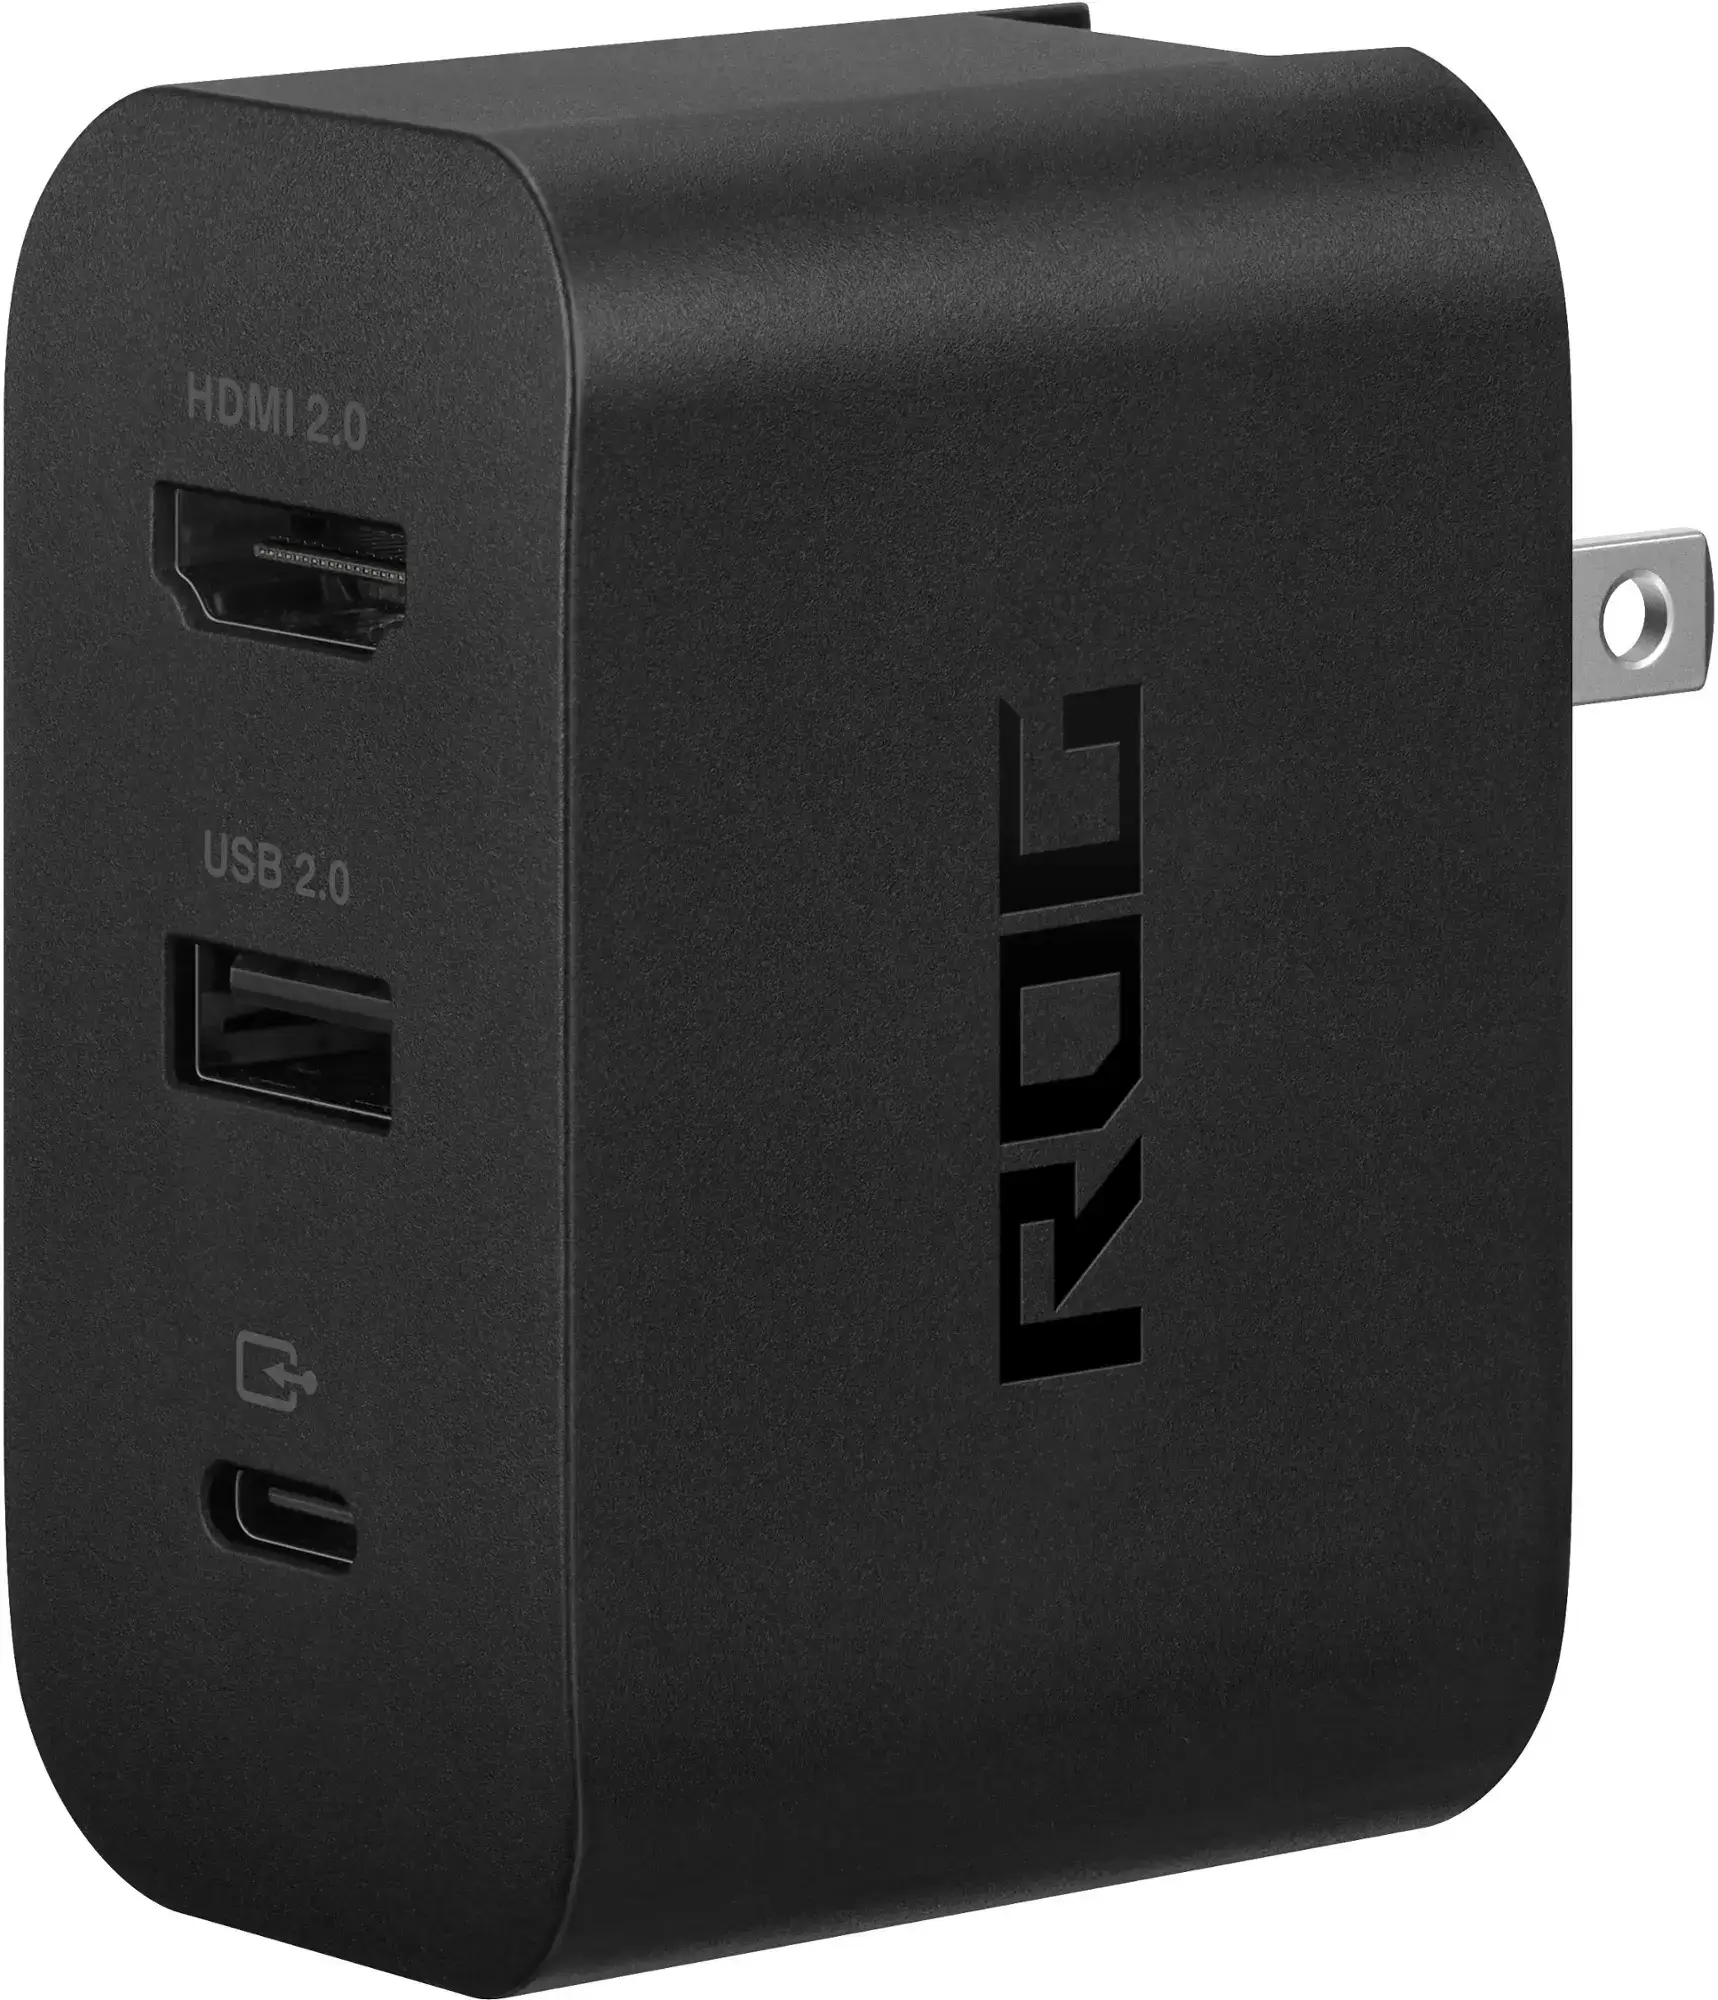
ASUS ROG 65W Charger Dock
The official ROG Gaming Charger Dock is the most space-saving adapter option, doubling as a charger for your ROG Ally. It supports HDMI 2.0 and includes USB Type-A and USB Type-C ports. All you need is a USB-C and HDMI cable to get started. The Charger Dock also features a USB-A port, perfect for connecting a mouse or keyboard.
Alternatively, you can use a third-party USB-C to HDMI adapter, connecting it directly to the ROG Ally's USB-C port. Then, attach an HDMI cable from the adapter to your TV or monitor. For a one-cable solution, consider a USB-C to HDMI cable that connects directly from your ROG Ally to your display.
Some USB-C to HDMI adapters come with a passthrough USB-C port for charging. If your adapter has this feature, you'll need an additional USB-C cable and your power adapter to keep the ROG Ally's battery charged while playing.
How to Connect: Step-by-Step Instructions
- Plug a USB-C to HDMI adapter (or cable) into the ROG Ally's USB-C port on the top of the enclosure. If using the ROG Gaming Charger Dock, connect one end of a USB-C cable to the ROG Ally's USB-C port and the other to the Charger Dock's USB-C charging port.
- Connect an HDMI cable to the adapter (or Charger Dock) and plug the other end into an available HDMI port on your TV or monitor. If using a direct USB-C to HDMI cable, simply connect the HDMI end to your display.
- (Optional) If your USB-C adapter has a passthrough USB-C port for charging, connect your ROG Ally's power adapter to this port to provide power.
- Power on the ROG Ally; it should automatically detect and output the video signal.
- Switch your TV or monitor's input to the correct HDMI input to view your ROG Ally's display.
How to Connect With a Docking Station
For a more Nintendo Switch-like experience, consider using a docking station. While the ROG Ally doesn't have an official docking station beyond the ROG Gaming Charger Dock, numerous third-party options are available. These docking stations allow you to place your ROG Ally into a stand while connecting to your TV or monitor and charging simultaneously.
What You'll Need
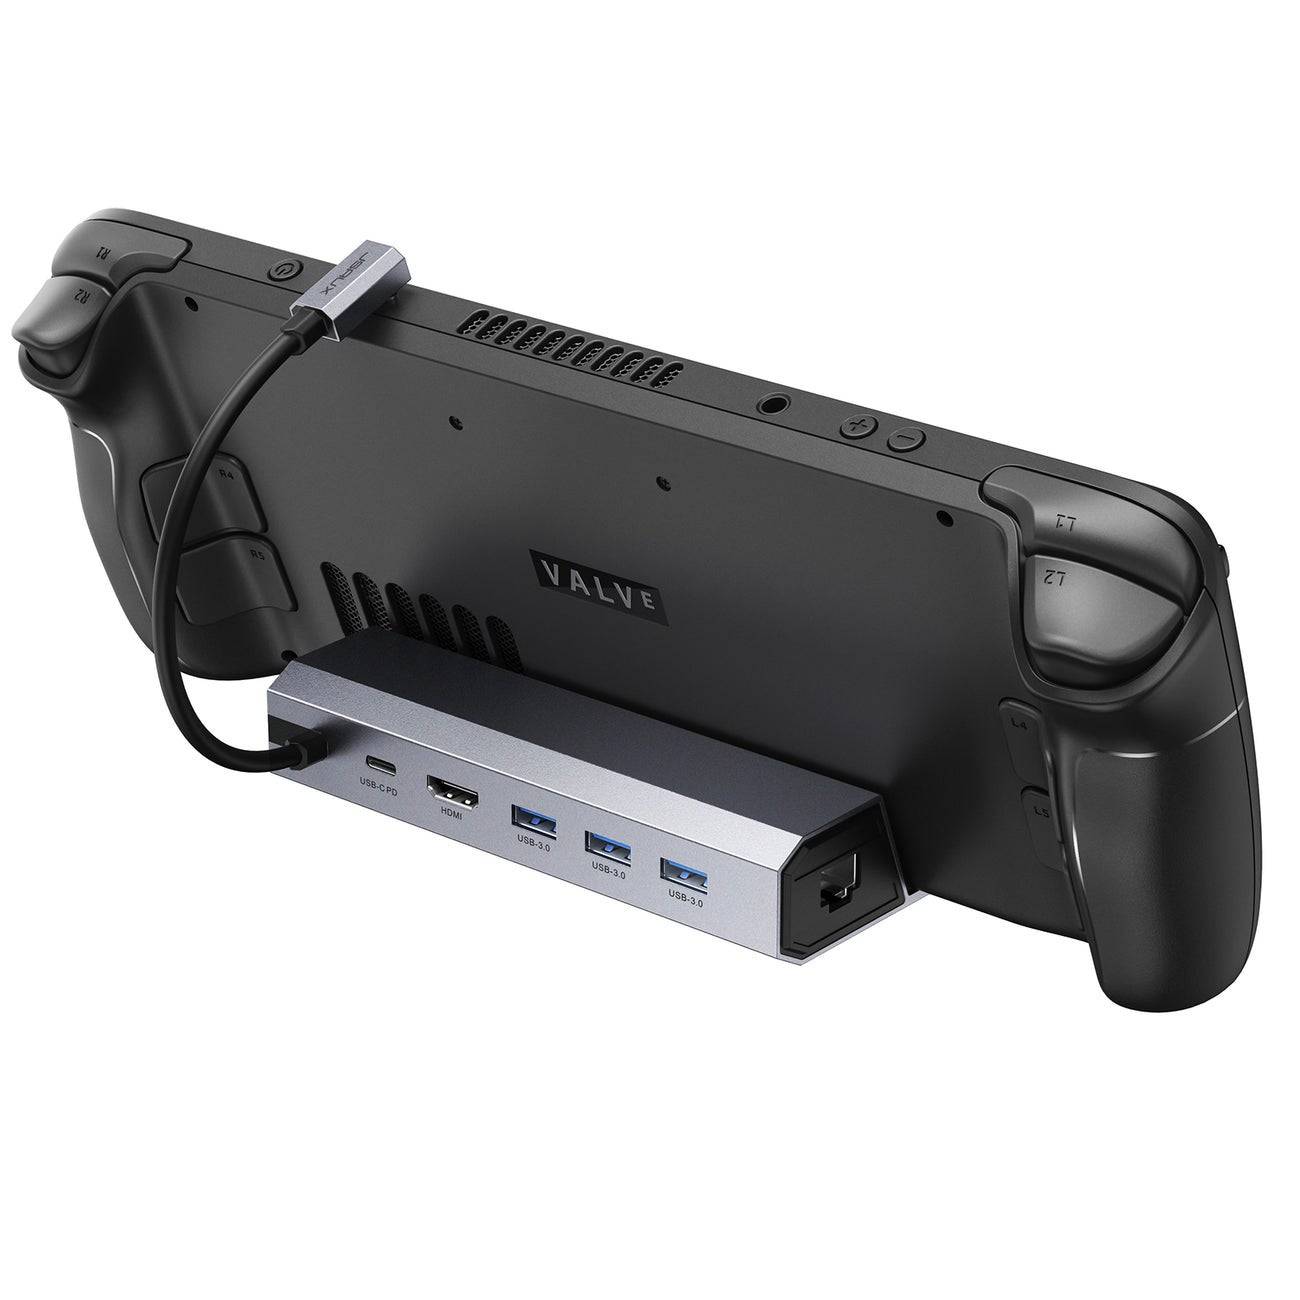
JSAUX Docking Station HB0603
Our top pick, the JSAUX Docking Station HB0603, offers 100 watts of power for fast charging and comes with multiple ports. This lightweight, compact dock also serves as a stand, making it perfect for travel and connecting to larger displays on the go. Basic docks for the ROG Ally typically include an HDMI port and a USB-C passthrough charging port. For more advanced needs, consider docks with additional USB ports for peripherals, external hard drives, Ethernet ports for a stable wired connection, SD card slots for expanded memory, and even a Display Port for an additional screen. Many docks compatible with the Steam Deck will also work seamlessly with the ROG Ally.
How to Connect: Step-by-Step Instructions
- Place your ROG Ally into the dock.
- Connect the USB-C power cord to the ROG Ally's USB-C port on the top of the enclosure.
- Connect your ROG Ally's power adapter to the USB-C charging port on the dock.
- Attach an HDMI cable to the HDMI port on the dock and connect the other end to an available HDMI port on your TV or monitor.
- Power on the ROG Ally; it should automatically detect and output the video signal.
- Switch your TV or monitor's input to the correct HDMI input to view your ROG Ally's display.
You'll Also Need a Controller
While you can connect a mouse and keyboard to your ROG Ally's docking solution, using a wireless controller offers the most comfortable gaming experience on a larger display. The ROG Ally is compatible with any Bluetooth-enabled gaming controller. Below are our top recommendations for controllers that work well with both the Steam Deck and the ROG Ally.
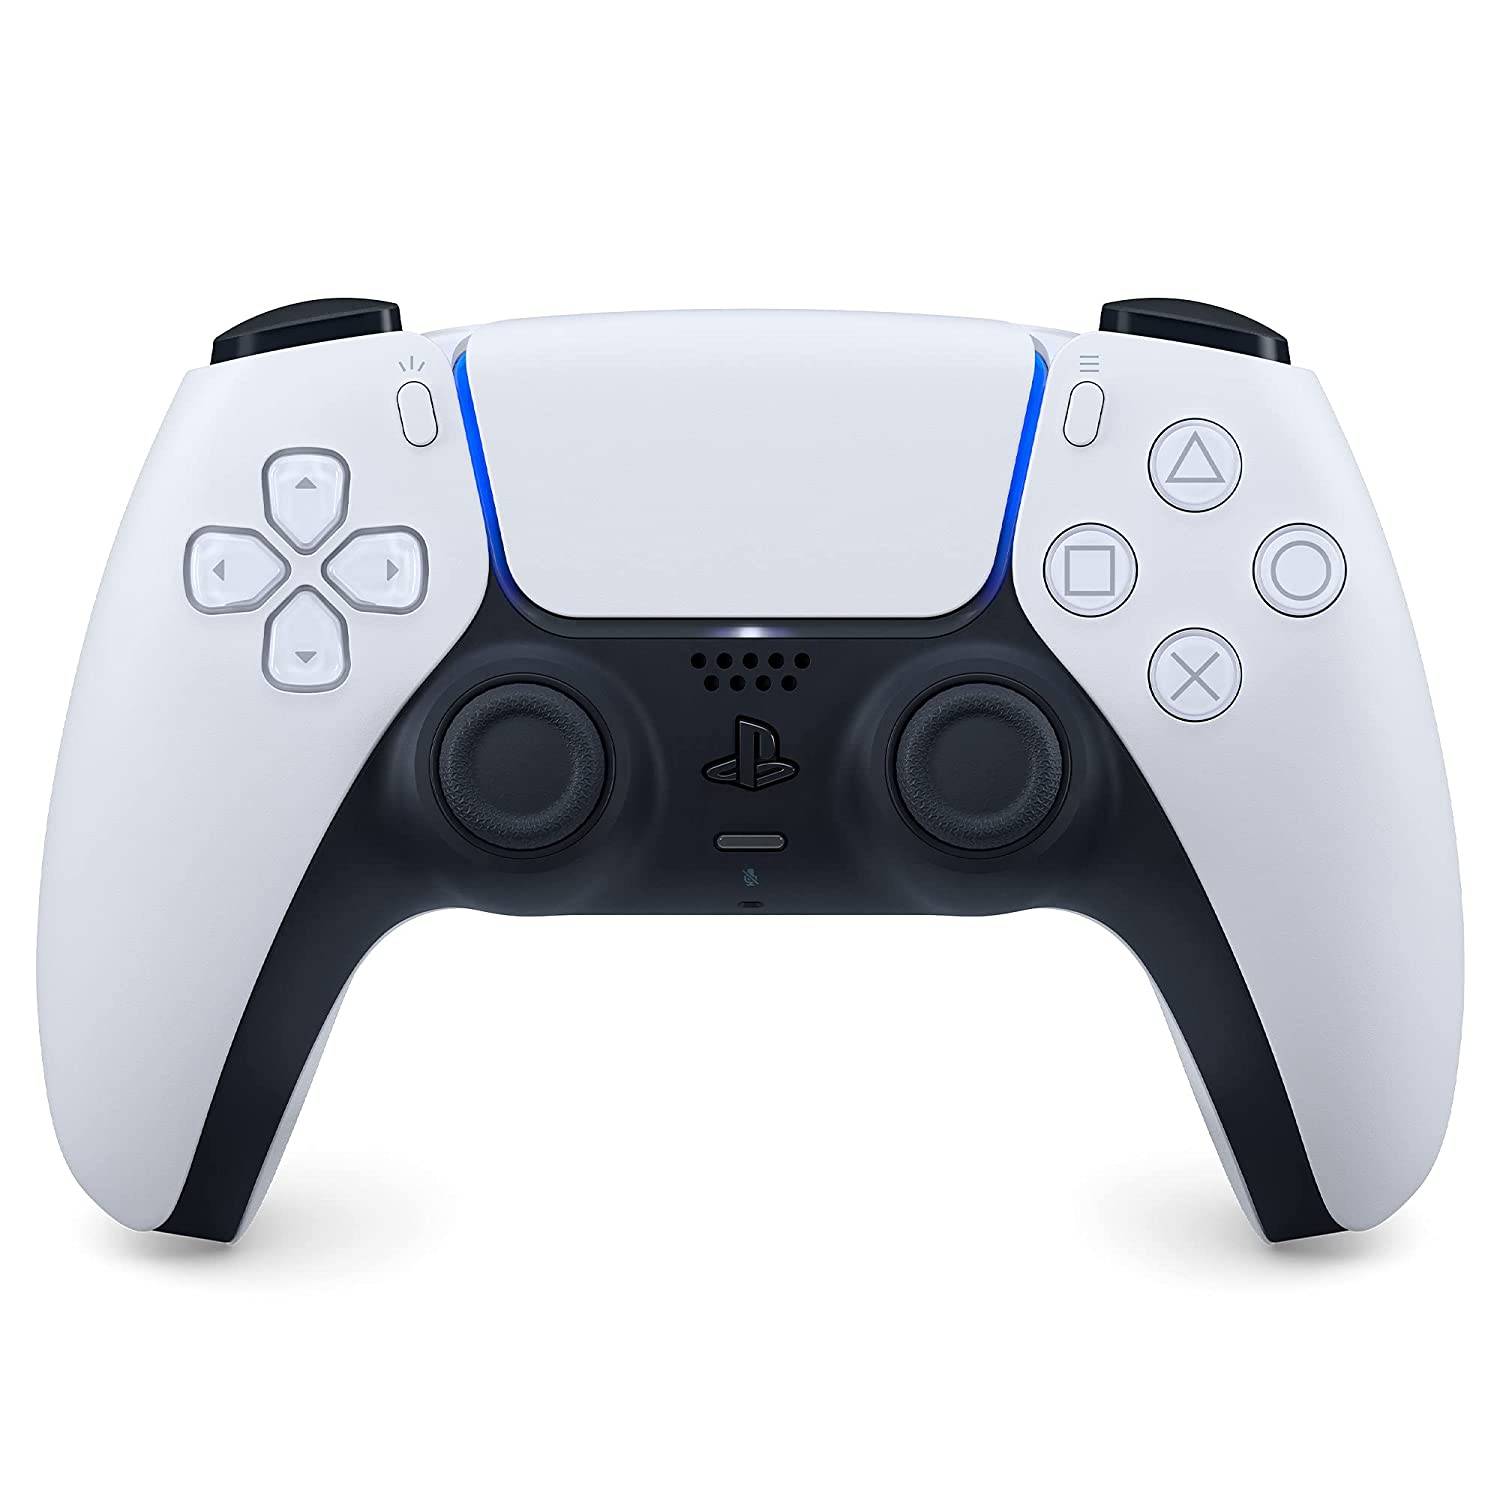
Sony DualSense
Our top pick, the Sony DualSense, offers a premium gaming experience. See it at Amazon, Best Buy, or Target.
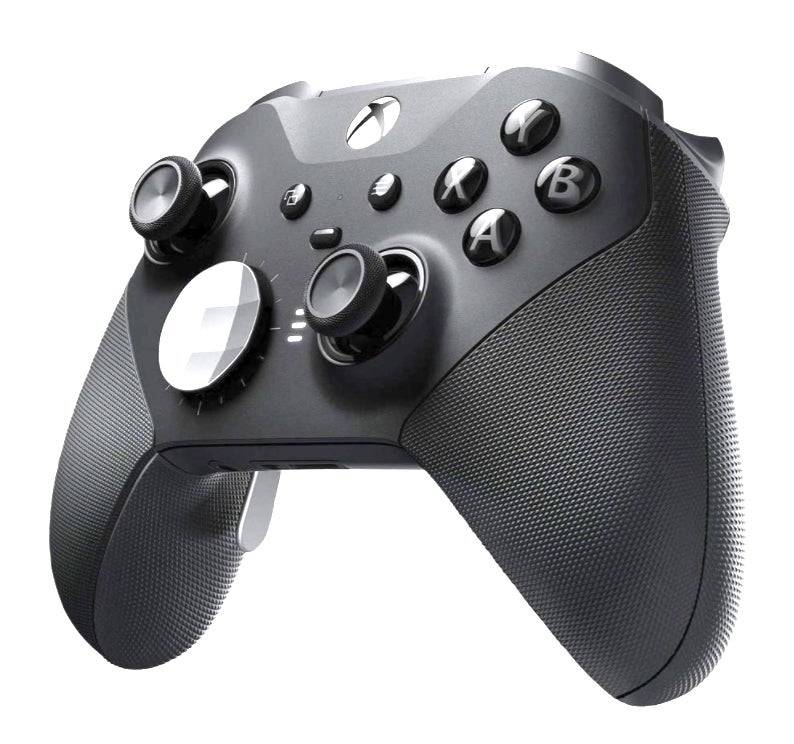
Xbox Elite Series 2 Controller
A high-end option for those seeking customization and performance. See it at Amazon or Best Buy.
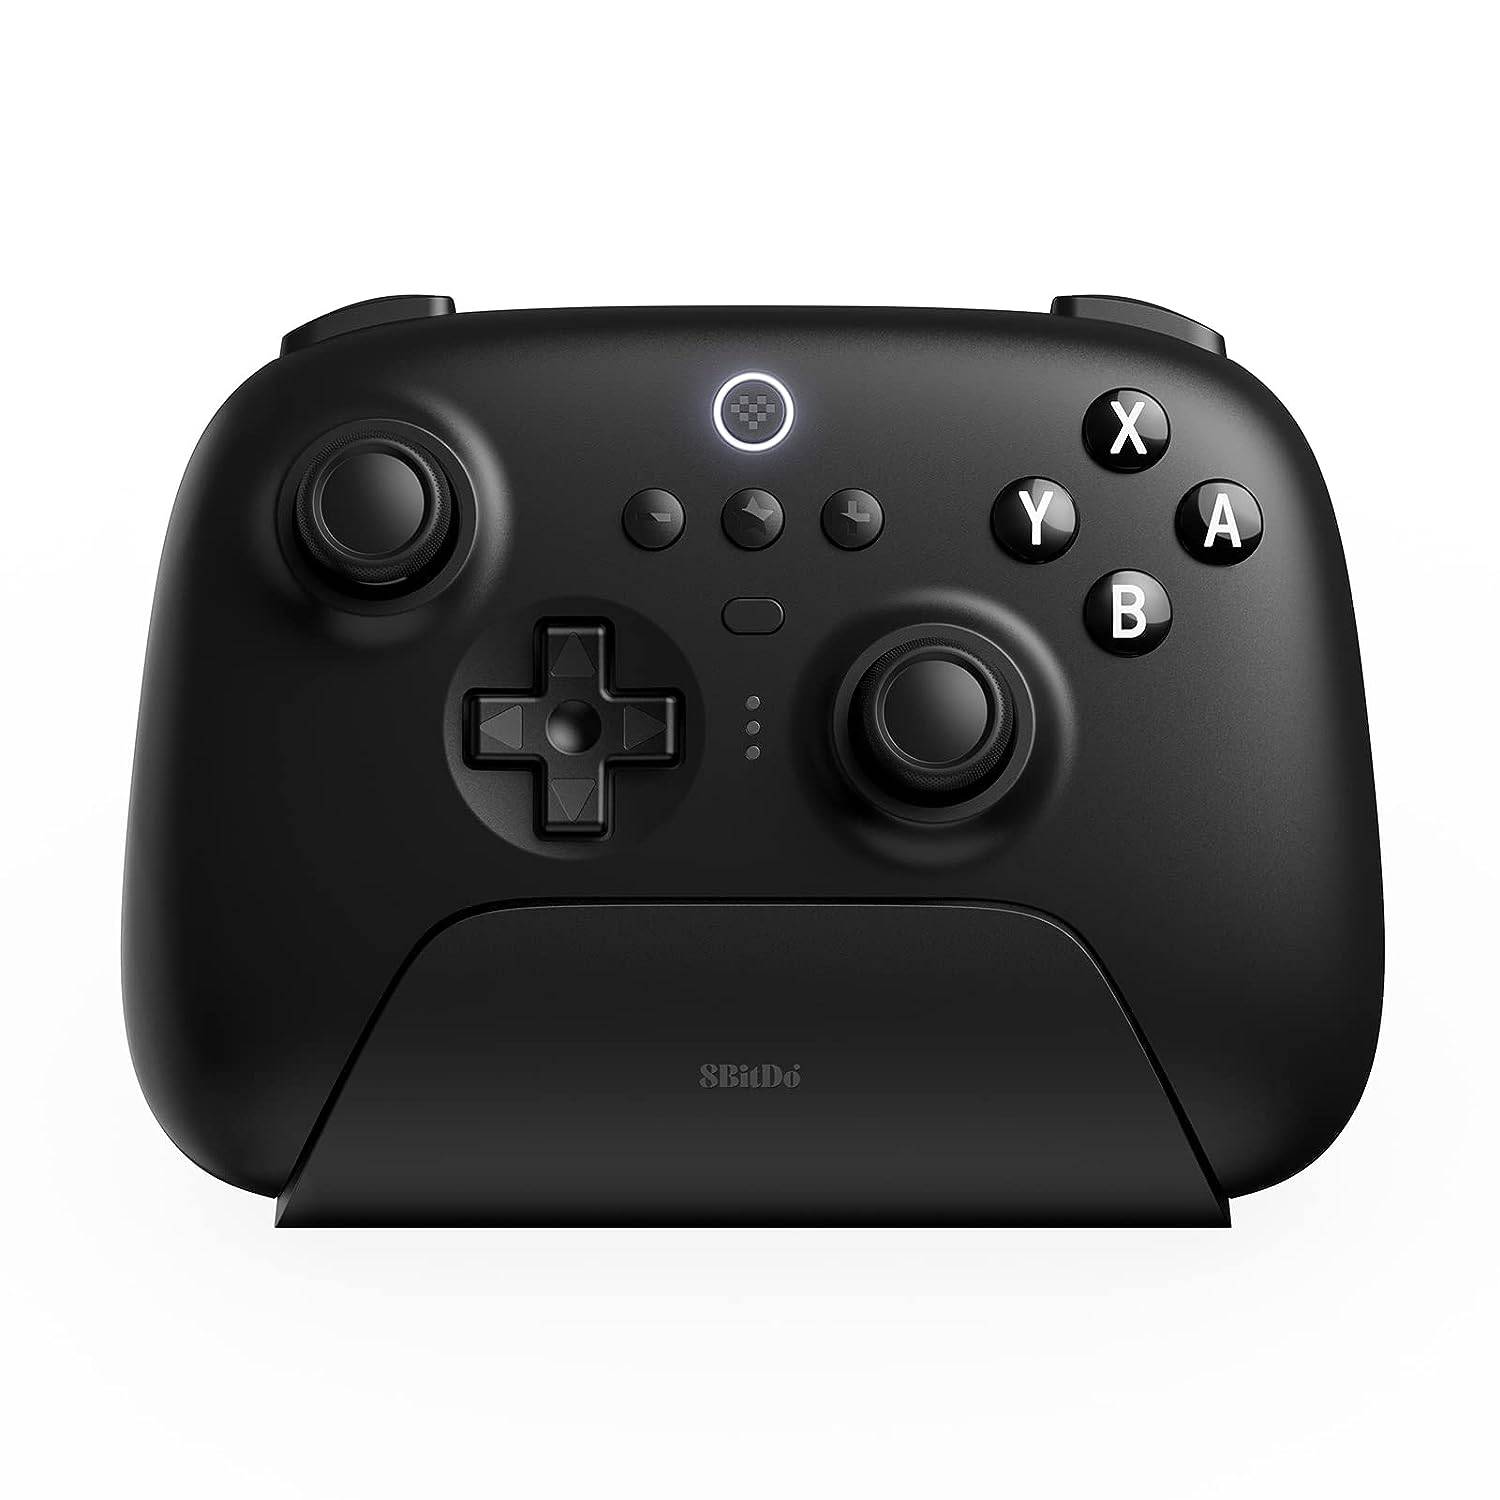
8BitDo Ultimate Controller
A versatile and affordable choice for gamers. See it at Amazon.
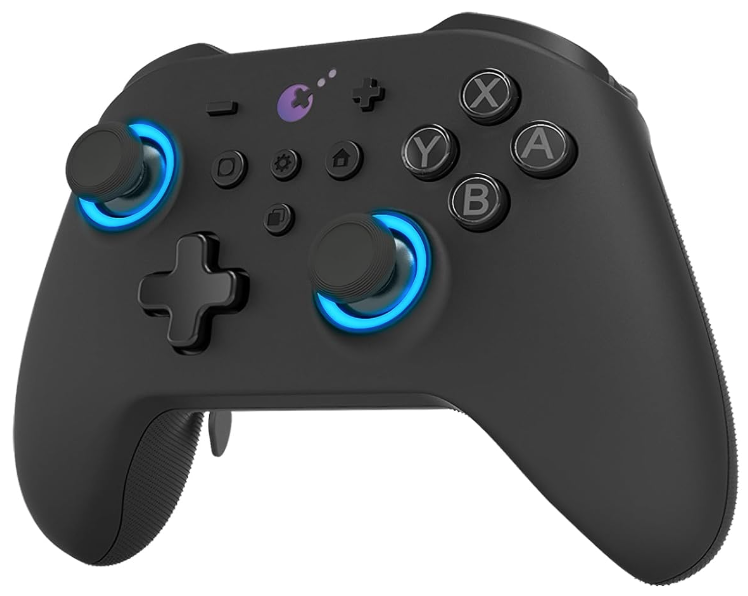
GuliKit KingKong 3 Max Controller
A solid option for those looking for a reliable controller. See it at Amazon.

PowerA Wireless GameCube Style Controller
Perfect for fans of the classic GameCube design. See it at Amazon.
These recommendations include first-party options like the PS5's DualSense, the Xbox Wireless Controller, or the Nintendo Switch Pro Controller, as well as a variety of third-party controllers. Some controllers use a 2.4GHz wireless connection with an included USB adapter, offering lower latency and better range than standard Bluetooth controllers. For a simple plug-and-play solution, you can also opt for a wired USB controller if you're close enough to your ROG Ally or docking station.
-
 Quizlet: AI-powered FlashcardsIntegrate listening and pronunciation exercises into your study plan with Quizlet: AI-powered Flashcards Mod for a well-rounded language learning journey. Stay Motivated and Track Your Growth. Mastering a new language presents challenges, but this a
 -
 DaTalk: Chat, Make FriendsWant to grow your social circle and meet people from diverse backgrounds? DaTalk: Chat, Make Friends is the perfect app for you. Connect with millions of users worldwide and build genuine friendships while celebrating diversity and embracing differe
 -
 Cthulhu: Death May Die Codex+Cthulhu: Death May Die Codex+ is the definitive app for enthusiasts of H.P. Lovecraft's cosmic horror. Dive into a story-rich journey that delves into the shadowy depths of the Cthulhu Mythos. This upgraded codex includes a vast lore library, packed
 -
 KinderMate for Kids LearningEmbark on an exciting journey of interactive learning and discovery with KinderMate for Kids Learning. This innovative app engages your child's curiosity with the power of child-friendly AI technology. Through enriching discussions across diverse su
 -
 Dirty Mind QuotesA cleverly mischievous mind is too precious to waste—it's the source of all the fun! Welcome those playful thoughts that bring a smile. Keep in mind it's all in good spirits. Life is simply too short to stay serious all the time. So let your imagina
 -
 Multi Chess Pro - ChineseDive into the world of Chinese Chess with Multi Chess Pro - Chinese! Enjoy vibrant graphics and authentic sounds across three exciting play modes. Challenge yourself against intelligent AI in Solo mode, battle a friend in local Two-Player mode, or c
-
 Marvel Rivals Season 1 Release Date Revealed
-
 Sonic Racing: CrossWorlds Characters and Tracks Revealed for Upcoming Closed Network Test
-
 Honkai: Star Rail Update Unveils Penacony Conclusion
-
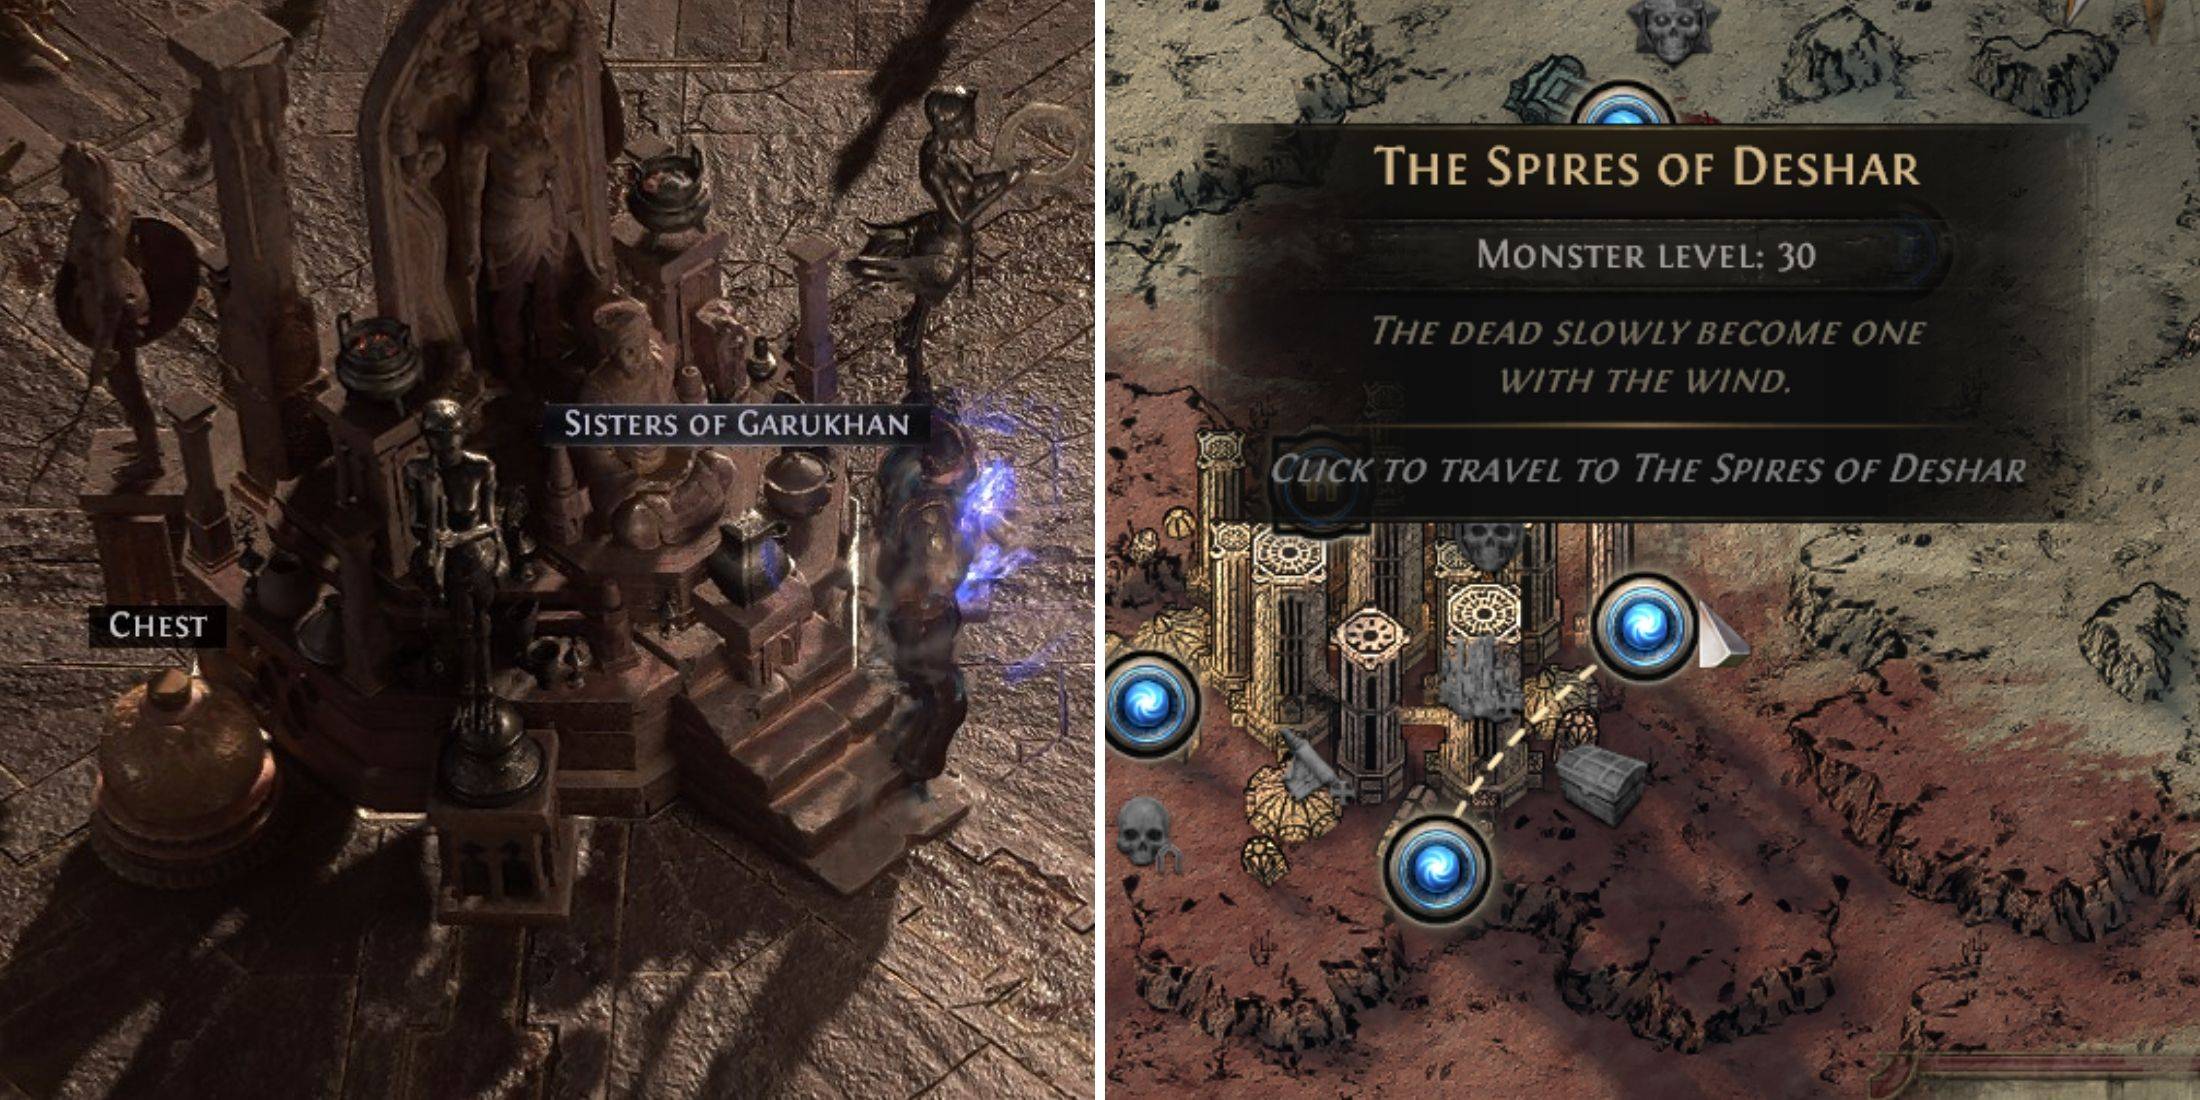 Announcing Path of Exile 2: Guide to Sisters of Garukhan Expansion
-
 Ubisoft Cancels Assassin's Creed Shadows Early Access