
"Ultimate Tower Blitz: Eternal Tier List Update"

Embarking on your journey in *Tower Blitz*, you start with a single tower but soon unlock a variety of towers, each with unique strengths and weaknesses. To help you craft the perfect strategy that aligns with your play style, here's a comprehensive tier list of all the towers available in *Tower Blitz*.
All Towers In Tower Blitz Ranked
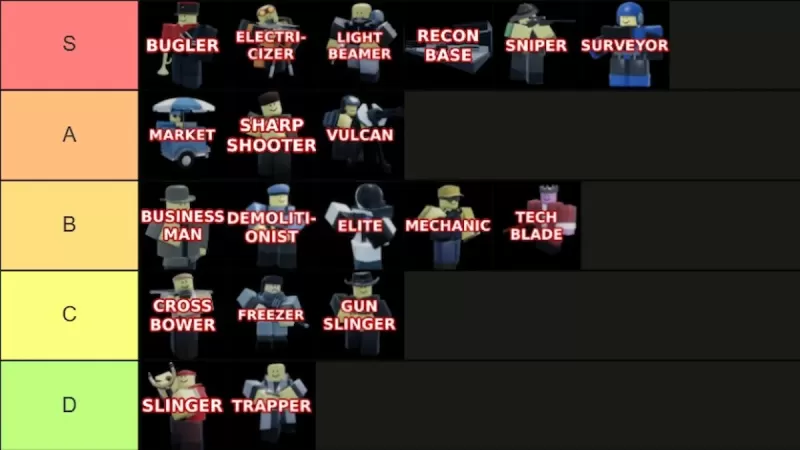
S-Tier Towers
| Tower | Cost | Explanation | Pros and Cons |
|---|---|---|---|
 | To unlock the tower: **2500 Tokens** (available at Level 25) To place in-game: **750 Cash** | This tower is overwhelmingly powerful. Though it's purely a support tower, you'll find it challenging to succeed in Expert mode without it. Its versatility in boosting other towers makes it invaluable, though it doesn't buff Recon Bases. | + Significantly boosts other towers' performance + Essential in Expert mode – Strictly a support tower |
 | To unlock the tower: **5500 Tokens** To place in-game: **3800 Cash** | If you're looking for a more potent version of the Sniper, the Electricizer is your go-to. Boasting the largest range and damage in the game, it's perfect for placement near the end of the map to decimate incoming enemies. | + Massive range and power + Versatile in support and damage – High cost |
 | To unlock the tower: **Complete the contract** To place in-game: **1800 Cash** | Like the Electricizer, the Lightbeamer is among the most formidable towers. Strategically placing it along a straight path maximizes its destructive "death ray," making it a game-changer in the right position. | + Exceptionally powerful + Excellent for crowd control – Not viable early-game – Expensive |
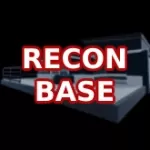 | To unlock the tower: **8000 Tokens** (available at Level 45) To place in-game: **1000 Cash** | A single Recon Base can spawn numerous operatives that fight for you, becoming even stronger with upgrades. While expensive, it's a key asset for dominating on any difficulty above Normal. | + Continuously spawns units + Both upgrade paths are powerful + Ideal for Expert mode – Very costly upgrades |
 | To unlock the tower: **1500 Tokens** To place in-game: **500 Cash** | Undoubtedly the best early-game tower, the Sniper can be enhanced to overcome its initial slowness. Its high piercing damage makes it valuable even in mid and late-game, especially on Expert mode. | + Top early-game tower + Usable throughout the game + High piercing damage – Slightly slow |
 | To unlock the tower: **Complete the contract** To place in-game: **700 Cash** | The Surveyor is incredibly versatile, capable of serving both as a support and a damage dealer. Its adaptability allows it to be used effectively from the start to the end of your game. | + Highly versatile + Usable from start to finish – Limited to four placements |
A-Tier Towers
| Tower | Cost | Explanation | Pros and Cons |
|---|---|---|---|
 | To unlock the tower: **1000 Tokens** To place in-game: **650 Cash** | The Market is a fantastic tower for generating income, particularly if you focus on its top path. Be cautious with the bottom path, as it can lead to financial losses if not managed well. | + Crucial for all games, especially multiplayer + Generates profit – Bottom path can be risky – Slow initial income generation |
 | To unlock the tower: **1300 Tokens** To place in-game: **600 Cash** | Ideal for early-game, the Sharpshooter excels at controlling crowds with its wide range. Though its piercing damage is low, it's perfect for beginners looking to progress into the mid-game. | + Excellent crowd control and damage + Great for beginners – Ineffective in Expert mode – Low defense piercing |
 | To unlock the tower: **3000 Tokens** To place in-game: **2500 Cash** | The Vulcan is a strong choice for mid to late-game, offering flexibility in targeting multiple enemies or focusing on one for higher damage. Its potential is fully realized at higher levels. | + Highly effective + Versatile – Slow to reach full strength – No flying detection |
B-Tier Towers
| Tower | Cost | Explanation | Pros and Cons |
|---|---|---|---|
 | To unlock the tower: **Complete the contract** To place in-game: **800 Cash** | The Businessman is useful for early-game money farming and can contribute to damage, particularly when paired with a Recon Base. However, other towers often outperform it in these roles. | + Generates income and deals damage + Suitable for early-game – Easily outclassed |
 | To unlock the tower: **3500 Tokens** To place in-game: **900 Cash** | The Demolitionist is effective in the early-game for handling groups with high piercing damage, but it quickly becomes outdated as better options emerge. It also lacks flying detection. | + Effective crowd control and piercing damage – Outclassed after early-game – No flying detection |
 | To unlock the tower: **Complete the contract** To place in-game: **1200 Cash** | Similar to the Vulcan but less versatile, the Elite's bottom path offers the most utility. Be aware of its long cooldown, which can limit its effectiveness. | + Effective bottom path – Long cooldown – Expensive |
 | To unlock the tower: **Complete the contract** To place in-game: **480 Cash** | The Mechanic is a solid choice for mid-game with its variety of turrets, though only the Teslas make a significant impact. It's costly despite its strategic value for some players. | + Useful in mid-game – Not cost-effective |
 | To unlock the tower: **Free** (available at Level 10) To place in-game: **400 Cash** | The Techblade is a melee tower adept at handling groups and tanks in the early-game. Its effectiveness is hindered by its short range and slow speed. | + Effective crowd control + Efficient early-game – Limited range – Slow |
C-Tier Towers
| Tower | Cost | Explanation | Pros and Cons |
|---|---|---|---|
 | To unlock the tower: **200 Tokens** To place in-game: **400 Cash** | The Crossbower is a decent early-game option for beginners or as an alternative to the Slinger. Its long range and ability to handle groups are offset by its low damage output throughout upgrades. | + Affordable and suitable for beginners + Long range – Obsolete after early-game – Poor damage |
 | To unlock the tower: **450 Tokens** To place in-game: **400 Cash** | The Freezer can be useful when paired with high DPS towers, particularly against fast enemies. However, its utility wanes as enemies gain freeze immunity, making it less viable as the game progresses. | + Effective against fast enemies – Becomes obsolete post-early-game – Limited enemy types it can handle |
 | To unlock the tower: **500 Tokens** To place in-game: **400 Cash** | Another melee tower, the Gunslinger's slow speed and short range make it less effective against oncoming enemies. Its top path can slightly improve its range, but at the cost of further reducing its already low damage. | + Marginally better top path – Short range – Ineffective in Hard or Expert modes |
D-Tier Towers
| Tower | Cost | Explanation | Pros and Cons |
|---|---|---|---|
 | To unlock the tower: **Free** To place in-game: **200 Cash** | The Slinger is primarily a tutorial tower, ideal for introducing new players to the game. Its use should be limited to the first few waves before replacing it with more effective options. | + Free – Extremely low damage and firing speed, even at max level – Useless after initial waves |
 | To unlock the tower: **1000 Tokens** (available at Level 10) To place in-game: **500 Cash** | Despite its unlock cost and level requirement, the Trapper struggles to defeat even the weakest enemies. It's often outperformed by cheaper and more powerful towers. | + Somewhat decent bottom path – Not cost-effective – Often nearly unusable – Struggles throughout the game |
Armed with this detailed tier list, you're now equipped to devise the best strategy for your play style in *Tower Blitz*. If you're looking for an edge to start your game, our *Tower Blitz* codes can provide the boost you need.
-
 Spond - Sports Team ManagementEffortlessly manage sports teams with the Spond app. Organize groups for kids and adults, send invites via SMS, email, or the app, and track responses in one place. You don’t need the app to receive invitations—SMS or email options make it easy for
 -
 Escape from the ShadowsDetective Larsen faces a bizarre mission: retrieve someone from beyond the grave.Detective Ren Larsen receives a peculiar request from Carissa: bring someone back from the afterlife. Bastian has been abducted by shadows and transported to another rea
 -
 Davis CupKeep up with all the exhilarating action of the Davis Cup by Rakuten, tennis' premier international team competition, through the official ITF app. Track real-time scores, comprehensive match statistics, and point-by-point updates for every Davis Cu
 -
 Stickman Jailbreak 4Criminals and officers will stop at nothing to keep you from breaking out.The main character, Stickman, is locked up with other inmate Stickman who are all after the same diamond. Your goal is to discover successful ways to escape the prison with the
 -
 Backrooms Company MultiplayerBrave the horrors of The Backrooms in this intense multiplayer survival game filled with unpredictable terrorsEnter the chilling realm of Backrooms Company Multiplayer, a cooperative horror experience that traps you within the labyrinthine dimensions
 -
 Monsters Claws 3A cruel Monster is linked to a wave of disappearances across the city. Detective Amber is on the trail of a serial killer believed to be connected to a string of citywide disappearances. He is known to be highly dangerous and merciless. As she closes
-
 Sonic Racing: CrossWorlds Characters and Tracks Revealed for Upcoming Closed Network Test
-
 Marvel Rivals Season 1 Release Date Revealed
-
 Honkai: Star Rail Update Unveils Penacony Conclusion
-
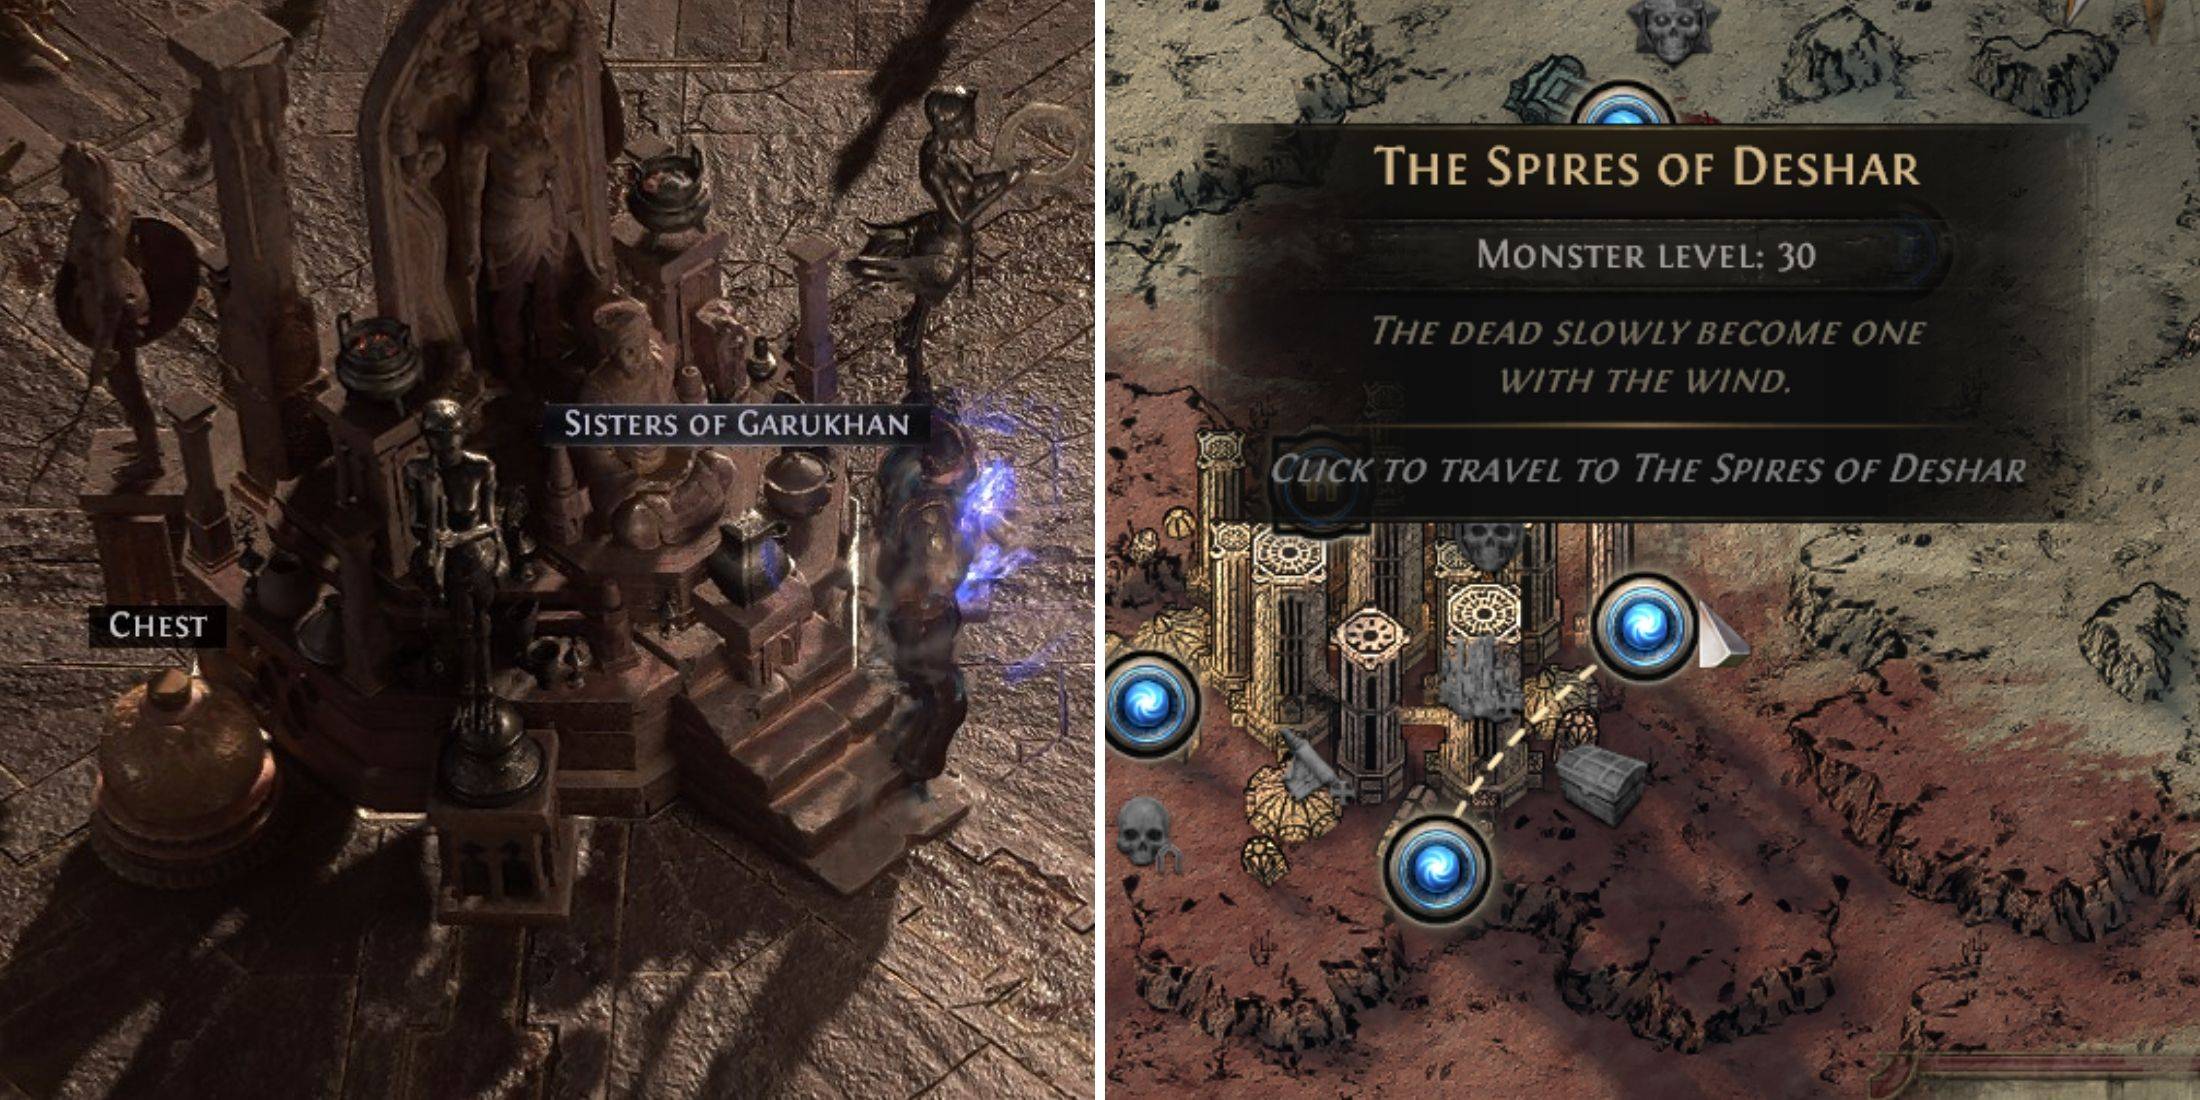 Announcing Path of Exile 2: Guide to Sisters of Garukhan Expansion
-
 Ubisoft Cancels Assassin's Creed Shadows Early Access